How to upload and edit DSLR photos on your iPad Pro
If you love taking photos on a standalone camera, like a DSLR or mirrorless camera, rather than on your iPhone, one of the major frustration points has always been getting the photos from your camera onto a device for editing and storage. This could be particularly annoying if you're trying to do so with an iOS device like an iPad, where you've needed one of two adapters, either Apple's Lightning SD card reader or the Lightning to USB Camera Adapter.
This has changed with the arrival of Apple's latest generations of iPad Pro. The 11- and 12.9-inch models released in late 2018 feature a USB-C port instead of Lightning. This change allows you newfound freedom when importing your photos onto these new iPads, including the use of third-party SD card readers, as well as direct camera-to-iPad connections, sans adapter.
Like the Mac lineup before it, the iPad Pro now uses USB-C. Among other things, USB-C gives the iPad Pro the ability to use accessories that haven't been certified by Apple. While some risks come along with this, so do freedom and price flexibility.
For instance, Apple's USB-C SD card reader is priced around $40, while this card reader from SanDisk, which, like Apple's, support UHS-II transfer speeds, costs about $26. Personally, I use a card reader from Anker that, while not UHS-II, still transfers photos from my SD card to my iPad reasonably quickly. That card reader costs around $14.
All three of those card readers perform the same task. The difference being that the SanDisk and Anker readers each do so at a price noticeably lower than Apple's reader, and neither of them is MFi certified.
Direct connection
One of the other consequences of moving from Lightning to USB-C is that you'll no longer need Apple's camera adapter to physically connect your camera to your iPad. While Apple made a USB-C version of the camera adapter, which basically adds a USB-A port to your iPad, it's likely that you won't need it. Instead, the only thing you'll need to attach your iPad Pro and camera is a USB-C-to-whatever connector your camera has cable.
A lot of cameras use Micro-USB for their data connections, so you'll need a Micro-USB-to-USB-C cable. But more recent cameras, including new mirrorless full-frame cameras from Canon, Nikon, and Sony, utilize USB-C, like the iPad Pro itself. What's great about this is that you don't need to buy an additional cable. If you have the camera and the iPad, you're set, because your iPad already comes with a USB-C-to-USB-C cable, the one that connects to its charger. You can use this cable for data transfers as well as charging, so you're good to go.
How to import photos from your DSLR to your iPad Pro
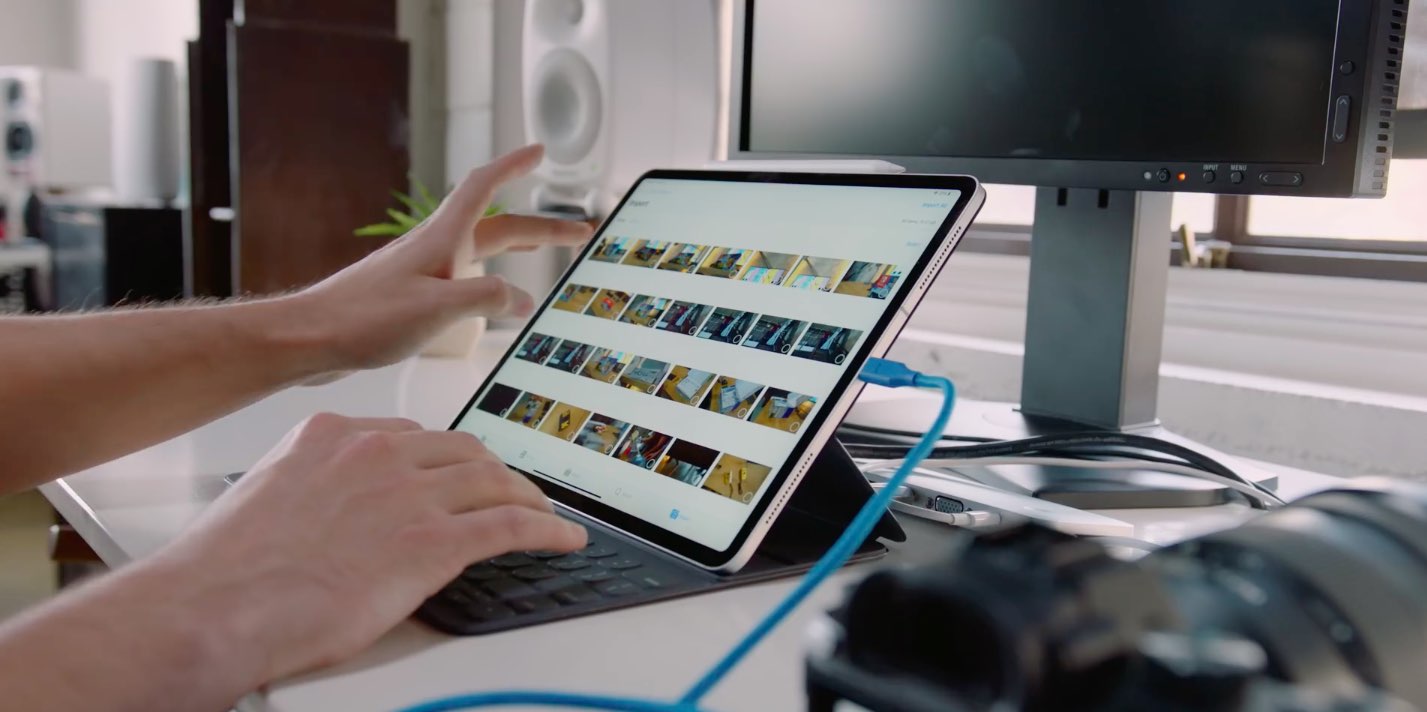
Once you've connected your camera or SD card to your iPad Pro, the process for importing photos is the same as it's always been.
- Connect your camera or SD card to your iPad Pro. Photos should automatically launch into the Import tab.
- Tap on the images that you want to import if you only want to import some of the images. If you want to import all of them, tap Import All right away.
- Tap Import.
- Tap Import Selected. The selected photos will be imported.

How to edit photos from your DSLR on your iPad Pro
You have a lot of options when it comes to editing photos on your iPad Pro. The last couple of years has seen several apps emerge that boast powerful editing for RAW photos. My first step is always to import my photos into Lightroom CC on my iPad to make initial adjustments, profile corrections, and preset applications. From there, you can send the photo to other applications directly from Lightroom by using the Open In function in Lightroom's share menu.

Right now, my editing app of choice is Affinity Photo. It has all of the tools you'd expect to find in a desktop photo editor, such as layering, repair, smart object selection, all in an interface built for your iPad. It has Apple Pencil support, and excellent, granular exporting tools. As far as I'm concerned, it's the iOS photo editor to beat right now when it comes to functionality, though I'm personally waiting to see if Pixelmator Photo can give it a run for its money.
You can grant both Lightroom CC and Affinity Photo on the App Store right now.
How do you do it?
If you use a standalone DSLR or mirrorless camera, do you have a particular workflow that you use to import and edit your photos? Tell us about it in the comments.
Related Posts:
Erase unwanted objects and perfect your amazing photos!
Remove objects from photos with Photo Eraser is almost as easy as taking a shot. Now you can use this tool to erase undesirable objects from your pictures, such as tourists, watermarks, logos, texts, blemishes and other unwanted things without real photo-editing skills required at all.

The most powerful and professional data recovery software for Android that can restore deleted or lost contacts, photos, videos, audios, SMS, call logs, WhatsApp chat, Viber messages from any Android devices due to accidental deletion, virus attack, formatting. It supports all popular Android smartphones and tablets like Samsung, HTC, LG, Huawei, Motorola, Nexus, etc. In the meantime, you will be guided step by step if you never used this kind of tool before.


Comments
Post a Comment