Color Toning Mastery Using Levels In Photoshop
Hi all, got a fast one for you today if you want to adjust your images overall coloring.
Today we’re are going to be taking a look at Color Toning using ‘Levels’
The technique that we will be using here can be applied to any image that you have.
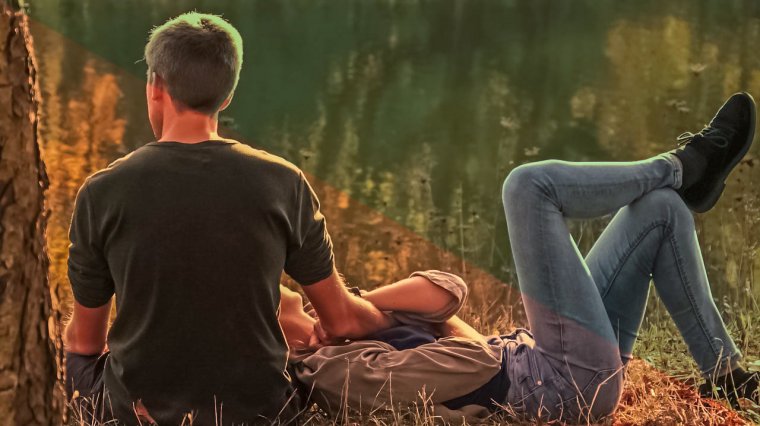
Check out the image I’ll be using for this, get something similar or use one of your own if you can which would be awesome.
If you wish you can use any type of image you like, landscapes, portrait etc. no restrictions for this one.
So I feel that my image is too red!
I want to bring some more of the green out in the image and perhaps add a little blue and yellow in there too.
Ok, let’s get to it.
For this Tutorial, we’re going to be using an adjustment layer.
What this is if you don’t know already is it is a separate layer for the actual adjustment.
Adjustment layers let you go back at a later date and adjust the edit instead of going to ‘image – adjustments’ and working directly on your image.
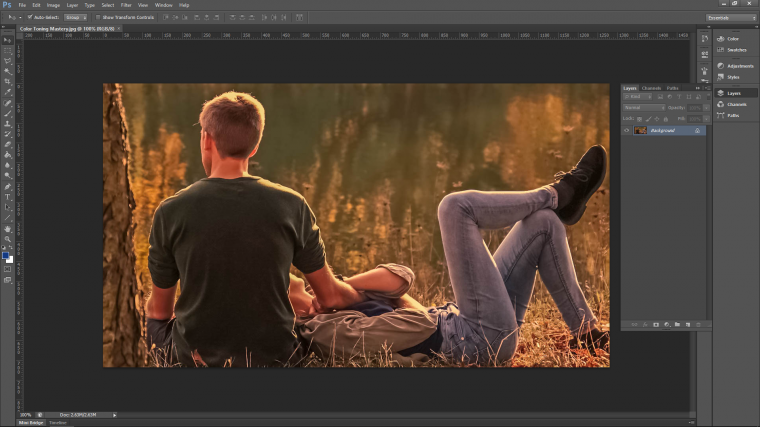
Go to Layer-New Adjustment Layer – Levels

When you go through the ‘OK confirmation’ etc. you will now see the layer on the right-hand side in the layers panel.
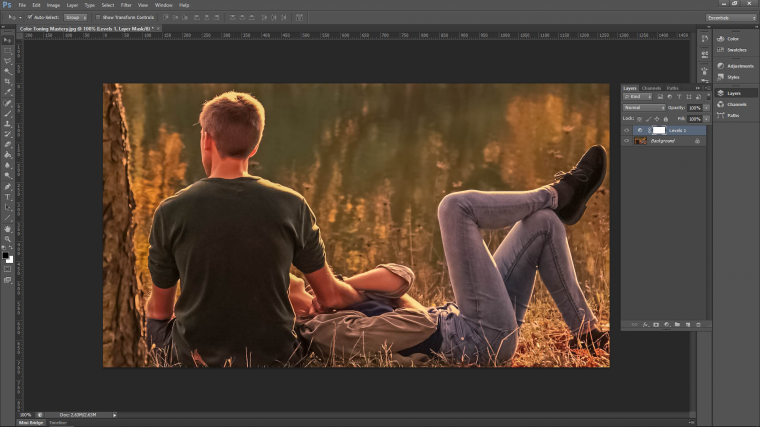
In that layer, if at any time the actual levels panel disappears.
Double click on the black and white circle icon in the layer to have it reappear again.
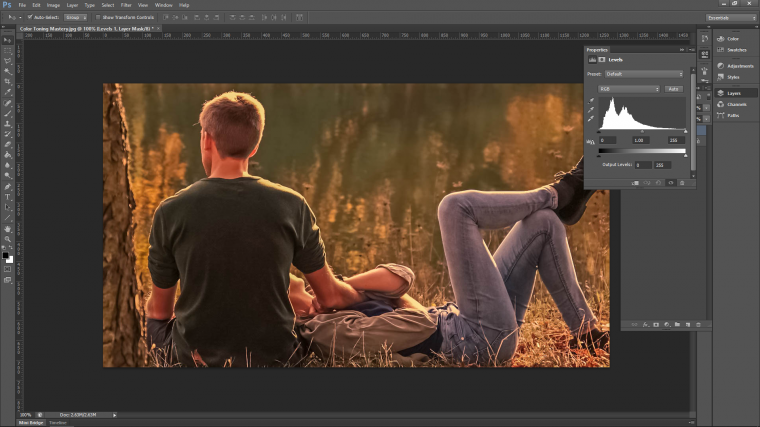
So just a quick brief on levels, the first histogram you will see 3 sliders…
Left = Darks
Middle = Mid-tones
Right = Lights
The one below that that has only two sliders is as follows…
This time when you slide the slider on the right towards the center it will make your Darks lighter.
Sliding the slider on the right-hand side towards the center will make the lightest areas darker.
You can also use a combination of the two slider sections once you start to get a real feel for what they do.
Take a second and play around with those sliders to get a feel for what they do and then slide them back into place when you’re done.
Now let’s start color toning.
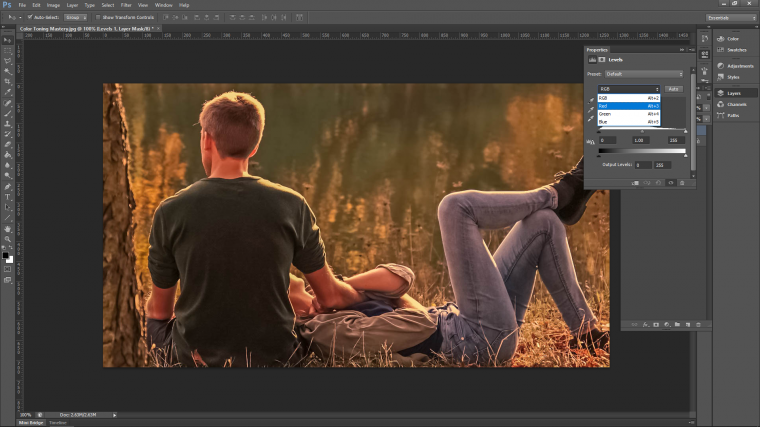
The way to do this is to use the channels option that’s available.
Look for the ‘Auto’ button in the levels panel that we have open.
Besides that, you will then see RGB.
When you click on that you will then see the color channels.
RGB stands for…
Red.
Green.
Blue.
So when you move the sliders clicked on RGB you adjust all the colors at the one time.
So we are going to go through each channel and see what we can come up with.
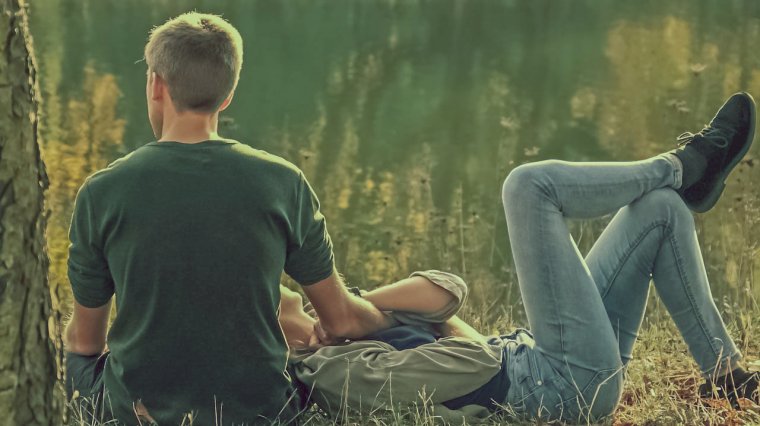
As stated, my goal here is to remove the reds and give the image a more Green/Blue tone.
The way that I do this is by clicking on the red channel first.

Now I will try the bottom sliders first to see what happens.
When I slide the left-hand slider you will see that it actually adds more reds to the image.
Therefore the opposite slider must do the opposite and instead of red. it will now add more green.
So you see that the sliders add the complimentary color.
The complementary colors are…
Red – Green/Green – Red.
Blue – Yellow.
The process that I will now follow is, I’ll do my Red channel first to see what happens using the bottom sliders.
I’m not going to bother with the Green channel as it is the same as the red.
Though in saying that you can try the middle 3 sliders on that if you wish.
Then I’ll finish off with the Blue channel and see if I can add something else like a little bit of Blue.
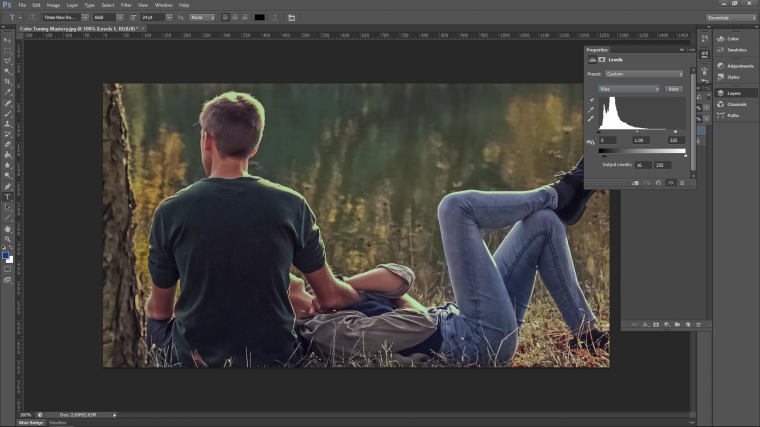
That is pretty much it.
Just a very quick way to adjust Color Tone that takes a matter of seconds.
For the adjustments I don’t want to give you a set formula on the colors I think the knowledge of the complementary colors should be enough.
Instead, I would rather play around with your image until you reach a point when YOU are happy.
Doing this over time will help you develop an eye for what looks good and what doesn’t which is where we all want to be in the photography business.
Good luck!
Must Check Out Posts:
Erase unwanted objects and perfect your amazing photos!
Remove objects from photos with Photo Eraser is almost as easy as taking a shot. Now you can use this tool to erase undesirable objects from your pictures, such as tourists, watermarks, logos, texts, blemishes and other unwanted things without real photo-editing skills required at all.

The most powerful and professional data recovery software for Android that can restore deleted or lost contacts, photos, videos, audios, SMS, call logs, WhatsApp chat, Viber messages from any Android devices due to accidental deletion, virus attack, formatting. It supports all popular Android smartphones and tablets like Samsung, HTC, LG, Huawei, Motorola, Nexus, etc. In the meantime, you will be guided step by step if you never used this kind of tool before.


Comments
Post a Comment