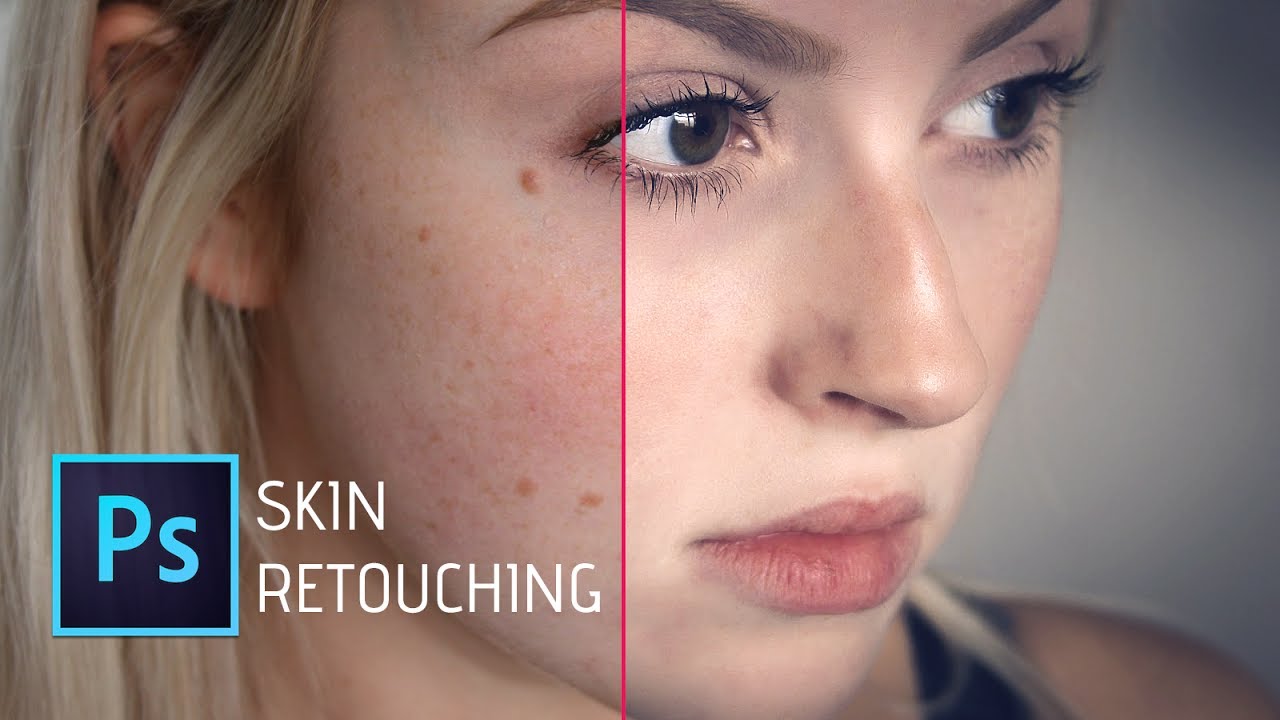
3 Ways To Remove Skin Blemishes In Photoshop

Removing skin blemishes is one of the most common editing procedures that portrait photographers do. There are a few different ways to do it and it's really useful to know all of them, since not every skin blemish can be fixed in the same way. Except if you work in the fashion industry or shoot magazine editorials, you shouldn't remove every single blemish on your model's face – there is usually no need for this kind of extreme approach. Start slowly by removing only the most visible blemishes and focus on small blemishes only when it's truly necessary.
Now we'll cover the three most common Photoshop tools used in skin editing – spot healing brush tool, healing brush tool, and patch tool. They can be used individually or combined, depending on the type of blemishes you want to fix. While the spot healing brush tool is perfect for small circular blemishes, you can use the patch tool to improve larger areas of uneven skin tone.
The Spot Healing Brush Tool
This is absolutely the best tool for removing small blemishes like pimples or moles. It's also the most straightforward healing tool since it's really easy to use it. Even if you're not experienced in editing, you'll find this tool quite user-friendly and reliable.
1. Open your portrait in Photoshop and select the Spot Healing Brush Tool from the toolbar on the left-hand side. Once you have selected this brush, you can change its hardness if you want and checkmark the “Sample All Layers” option. It's really important to checkmark this option since if you don't do it you won't be able to fix blemishes on a new layer.

The spot healing brush tool is in the toolbar on the left-hand side.
2. You shouldn't work on your background layer! Whenever you work in Photoshop, try to do non-destructive editing. Before you start to fix blemishes, you should add a new transparent layer. In this way, you can easily go back to your original image or change the opacity of the edited layer. This will give you more control over the strength of your edits – even when you think you have overdone something, you can simply reduce the opacity of the edited layer.

Add a new transparent layer and work on it to avoid irreversible mistakes in editing.
3. Brush over the problematic spots on your model's face – the Spot Healing Brush Tool will fix them seamlessly! You can easily change the size of your brush, but it's better to keep it small and avoid mistakes.
The Healing Brush Tool
This tool can be quite useful because it lets you select how you want the blemished area to be fixed. You need to pick what area of your model's skin (preferably a smooth area) will fill the blemishes and make them look less pronounced. The Healing Brush Tool is in the same toolset as the Spot Healing Brush Tool.
1. Open your portrait in Photoshop and select the Spot Healing Brush Tool from the toolbar on the left-hand side.
2. Set the sampling point by positioning the pointer over an area of the image and alt-click (Windows) or option-click (Mac OS). Move the ”sampled skin” to the blemished area and click it – the blemishes will get filled with the sampled skin and disappear.

The healing brush tool lets you sample the skin you will use to fix various blemishes.
The Patch Tool
This tool works in a similar way to the Healing Brush Tool and it can help you fix even larger areas of blemished skin.
1. Open your portrait in Photoshop and select the Patch Tool from the toolbar on the left-hand side.
2. Use the Patch Tool to select the area on the skin where you want to remove the blemish. Once selected, click inside this area and drag the mouse to the area with smooth skin. When you do this, the blemished area will be filled with the smooth surrounding skin. You will probably have to repeat this step a few times before you are happy with the results.

Patch tool can help you fix even larger areas of uneven or blemished skin.
Once you learn how to use these three tools, you will be able to fix the majority of skin blemishes and improve your portraits. Always bear in mind that less is more and that you should try to use these tools lightly and enhance the natural look instead of making it obviously airbrushed.

Before & After – Photo by Sharon McCutcheon on Unsplash
In case you want to learn more about portrait editing, feel free to check out the following links!
Further Resources:
Erase unwanted objects and perfect your amazing photos!
Remove objects from photos with Photo Eraser is almost as easy as taking a shot. Now you can use this tool to erase undesirable objects from your pictures, such as tourists, watermarks, logos, texts, blemishes and other unwanted things without real photo-editing skills required at all.
The most powerful and professional data recovery software for Android that can restore deleted or lost contacts, photos, videos, audios, SMS, call logs, WhatsApp chat, Viber messages from any Android devices due to accidental deletion, virus attack, formatting. It supports all popular Android smartphones and tablets like Samsung, HTC, LG, Huawei, Motorola, Nexus, etc. In the meantime, you will be guided step by step if you never used this kind of tool before.
Comments
Post a Comment