Crash course: for Complete Beginners
Adobe has been at the top of its game for over 25 years now, so much so that the brand’s most famous software has entered everyday language.
But it’s Adobe other major image-editing program that has arguably seen a bigger rise in popularity over recent years, due both to its ease of use and its ability to organise your workflow.
What is Lightroom?
Adobe Lightroom is a Raw image-conversion software for Macs, PCs and some tablets that does so much more than just enhance your photos. Don't worry if you've never used Raw – you can also use it to edit JPEGs.
The current Lightroom Classic CC version is available via Adobe’s Creative Cloud subscription service, which means you can get the latest and constantly updated versions of Lightroom and Photoshop for one monthly fee.
Unless you’re intending to dramatically manipulate your images, or add stylised filters, you can generally do what you would normally do in Photoshop using Lightroom. You can, for example, crop, clone and adjust properties of the image such as exposure, white balance, saturation and sharpness. For this reason, it’s seen by many photographers as a more streamlined way to edit many images in one go.
The Lightroom interface is simple to navigate and features a main preview window in the middle, with a number of modules that, when selected, offer up alternative options. While this may seem a little intimidating, it’s actually quite a logical layout. We’re going to walk you through each module in turn.
The Library Module
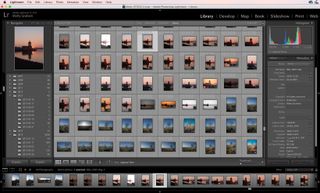
Library module. Click the top-right-hand corner to enlarge image
One of the most important modules in the software, this is where you’ll find all the tools you need to import and label your images so that you can find and access them quickly in the future.
On the left of the Library interface, you’ll see your Catalogs and Folders which shows where images are stored. This is also where the options are to quickly publish your images to sites like Facebook or Flickr.
In the middle of the interface is the main preview window, which showcases images ready to be imported (or already imported) into your Library, and these can be viewed either in a grid or one at a time.
Finally, the panel on the right lists all the metadata of the image (what camera was used, the lens, the exposure etc), along with the date it was taken. This panel also offers a Quick Edit option, but this is worthwhile bypassing.
There's also section to add Keywords to your image. Keywording is one of Lightroom’s best features and enables you to add relevant tags to your images (landscape, Yorkshire, sunset, Wide-angle etc) so that you can find and sort images more easily.
Read more: How to use Lightroom's Spot Removal tool
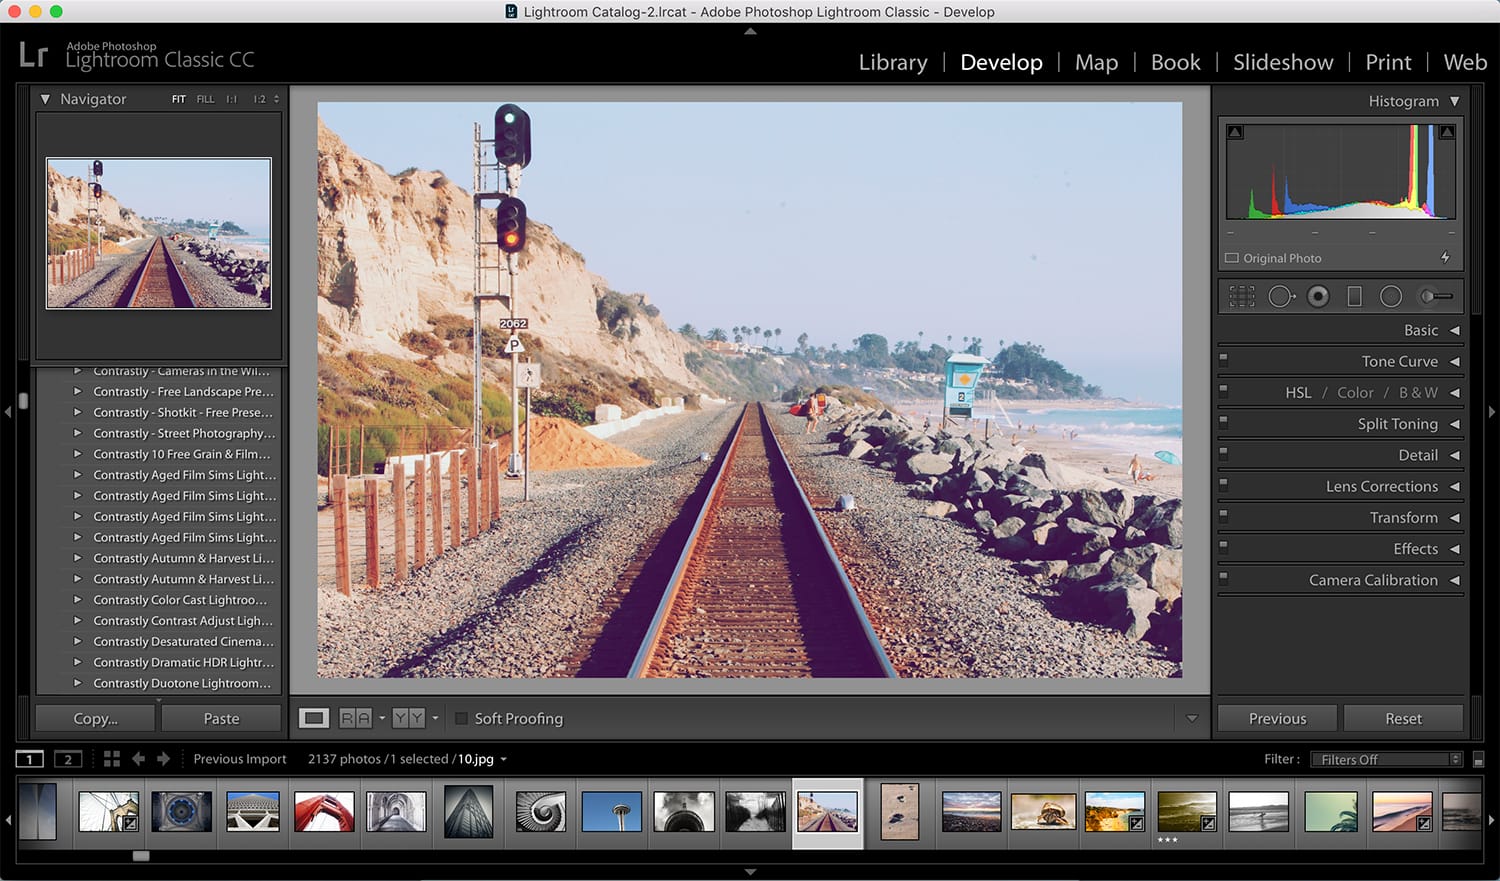
The Develop Module
Develop module. Click the top-right-hand corner to enlarge image
This is where all editing is done and your image is transformed, essentially the heart of the program.
This time the left of the interface displays all of your Presets. Presets are a speedy way to make multiple changes to an image in just one click. You can make your own Presets or import one made by someone else, and these can be added to multiple images in one go.
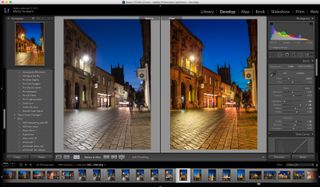
The Preview window shows the image change in real time as you make any adjustments, but the interface can also be changed to show a Before/After display.
Down the right-hand-side of the interface is where adjustments are made, and there's also a histogram to chart data too. The main adjustment options take the shape of sliders that you drag to make edits, but there are also more specialised options.
The main sliders make what's called Global Adjustments, which means that the changes affect the whole image. There are also options for Local Adjustments which affect just a selected area of the image. These tools include a Healing tool, Selective brush and a Radial tool.
The main sliders are sectioned into groups, also called tabs. The Basic tab includes adjustments such as White balance, Exposure, Shadows/Highlights and Saturation, and this is a good place to start your editing.
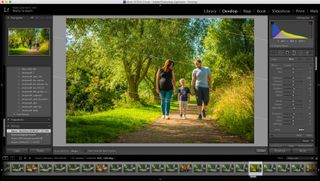
Local adjustments within the Develop module. Click the top-right-hand corner to enlarge image
The Map Module

Map module. Click the top-right-hand corner to enlarge image
The Map module enables you to see or mark where an image was taken. If your camera has built-in GPS it will record the location to the Metadata. If it doesn't, you will have to mark the location manually. This module can be useful, as you can group together images from the same location.
The Book Module
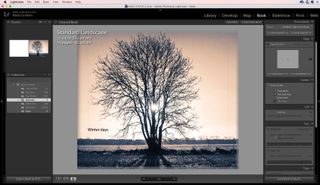
Book module. Click the top-right-hand corner to enlarge image
Once you have edited your images and are ready to make more of them, you can use the Book module to create a bespoke book of your photos. You can choose from different formats and sizes, and once you have added your images you can either order the book or simply save the creation as a PDF.
The Slideshow Module
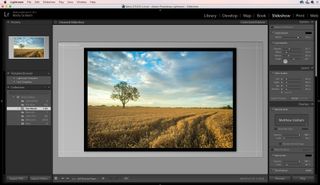
Slideshow module. Click the top-right-hand corner to enlarge image
Perfect for those who want to showcase their images to clients or in front of an audience, the Slideshow module allows you to create presentations. You can adjust things like the type of border surrounding the image, and you can even add a soundtrack to the presentation to add a professional touch.
The Print Module
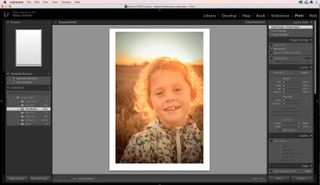
Print module. Click the top-right-hand corner to enlarge image
As the name suggest, this is the Module to visit when you’re ready to print your images. There is a high level of customisation available. Among other things, you can select which type of paper you’ll be using (gloss/matte) and control the size of the print. Resolution, sharpening and borders can also all be adjusted here.
The Web Module in Lightroom CC
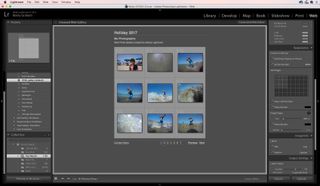
Web module. Click the top-right-hand corner to enlarge image
The last module available in Lightroom helps you to get your images online. You can create HTML5 web galleries, which can be uploaded directly to your portfolio website, and if you are new to publishing images online, Lightroom even has some handy templates to help get you started.
How to import your first image into Lightroom
Now that you’re familiar with the modules, here’s how to import your first image in just five steps.
Step 1
Click the Import button, or go to File and then select Import.
Step 2
Select the file or files you’d like to import from a folder or memory card.
Step 3
Select the destination where you’d like to store the files (this may be an external hard disk rather than on your computer’s hard drive).
Step 4
Add any Keywords that are relevant to the image.
Step 5
If you prefer, click the option that allows Lightroom to duplicate the Import to a secondary location (again, this could be an external hard disk). Now, just click Import.
How to export your first image in Lightroom
- Empty list
Step 1
Make any adjustments to enhance the image.
Step 2
Click on File and then select Export.
Step 3
When the dialogue box appears, choose the destination to which you’d like to export the image.
Step 4
Select the quality and format (JPEG/TIFF) in which you’d like to save the image.
Step 5
If you wish, you can click a box to quickly add a watermark to your image. Now just click Export.
Read more:
Erase unwanted objects and perfect your amazing photos!
Remove objects from photos with Photo Eraser is almost as easy as taking a shot. Now you can use this tool to erase undesirable objects from your pictures, such as tourists, watermarks, logos, texts, blemishes and other unwanted things without real photo-editing skills required at all.

The most powerful and professional data recovery software for Android that can restore deleted or lost contacts, photos, videos, audios, SMS, call logs, WhatsApp chat, Viber messages from any Android devices due to accidental deletion, virus attack, formatting. It supports all popular Android smartphones and tablets like Samsung, HTC, LG, Huawei, Motorola, Nexus, etc. In the meantime, you will be guided step by step if you never used this kind of tool before.


Comments
Post a Comment