How To Create A Painted Look For Your Images In Lightroom

Today let’s look at creating a painted look for your images in Lightroom.
You can even save this as a Preset if you wish.
I’ll be showing you how to create your own Lightroom Presets at the end of this tutorial.
Ok cool, so let’s get cracking.
First, let’s find ourselves a good landscape scene if you don’t have one from your own library.
I get all my images from free stock sites such as pixabay and pexels.
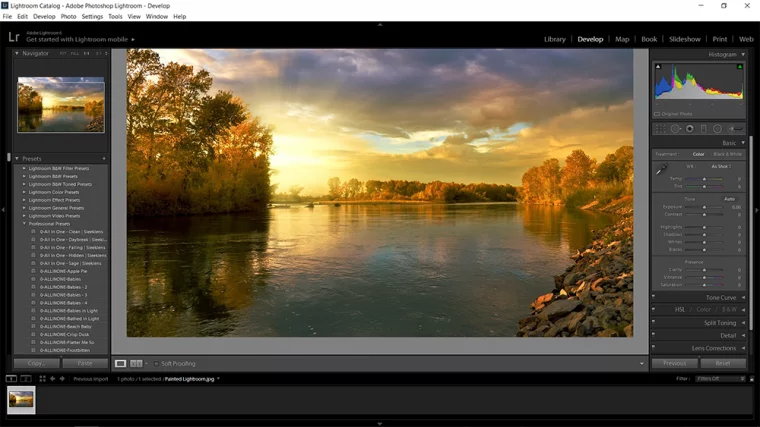
And here we go, I have my image.

So get set up and import your image.
If you don’t know how to do this take a quick look at this Lightroom Tutorial on the basics.
By now you should have your image up and ready to go.
Ok, now we are going to run through the first few things I generally do with every single image that I add to Lightroom.
It’s my basic editing workflow just to start off with.
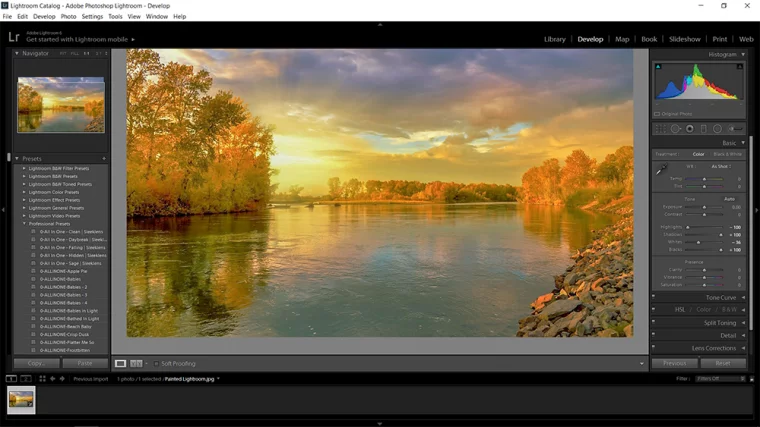
Drop Highlights to -100
Increase Shadows to +100
Remember to use your judgment here.
If it doesn’t look good and starts to look a bit underexposed or a bit blown out pull the sliders back towards the middle a little.
Next up, is Whites and Blacks.
There is a trick here to guide you with these also which is really cool.
It also works with the Exposure slider if you need it or want to try it.
So hold Alt on your keyboard.
When you click on the Whites/Blacks sliders you will notice your screen turns to just one color.
Now what you do here is to pull it until you see pixels.
Then pull it back just until those pixels disappear completely or are barely present.
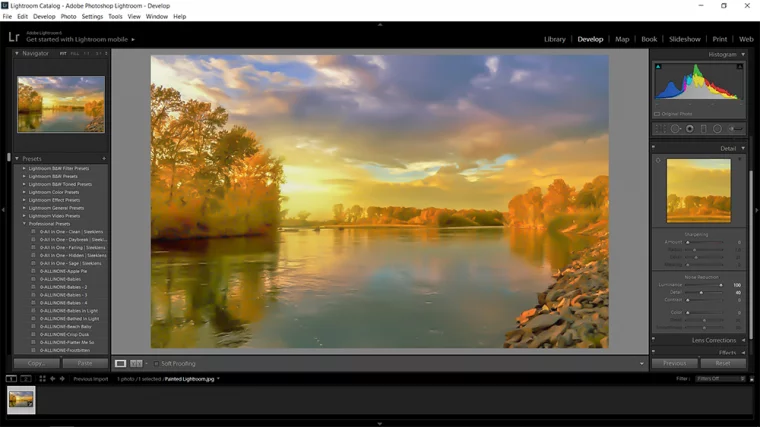
Once you have that all done let’s move down to Detail.
In there you will see the Luminance slider.
Slide this all the way to 100.
Then make sure that there is not any odd pixelation within your image, as this can happen.
To adjust for this now slide the detail slider below Luminance to compensate.
There will be no set number for this, just play with the slider back and forth.
But make sure to keep that painted look.
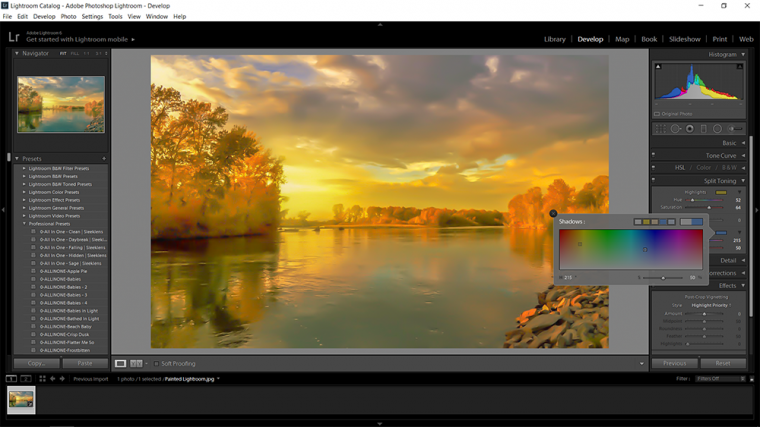
Next we’ll move to Split Toning.
You will notice in the options when you open it up there will be a little box about the sliders.
This will be both for Highlights and Shadows.
Double click into the box and depending on your image click on one of the defaults.
The defaults are those 5 color boxes at the top.
Since my image has a sunset/sunrise I’m going to click on the yellow to strengthen that.
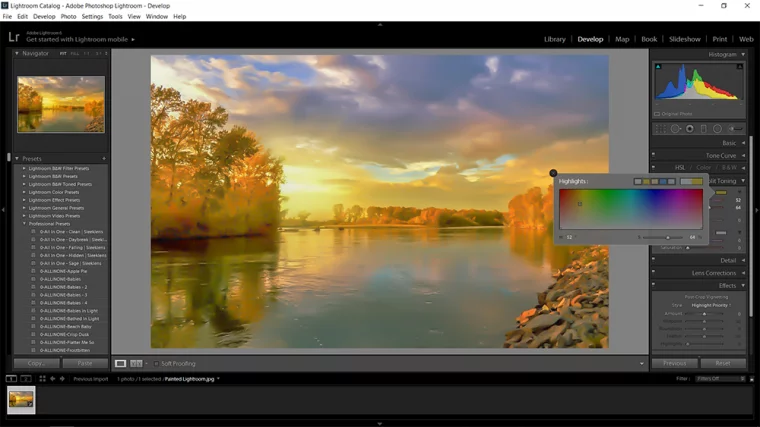
Then I’m going to do the exact same with the shadows.
Only this time I’ll click on the blue as a nice contrast.
If you know your color theory then you’ll know that Yellow and Blue are complementary colors.
Meaning they go together.
Ok so now our image is done, though if you like you can play around with a few of the other settings just to see what happens.
Just as long as the luminance is not messed with you’re good.
Right so presets then!
You will see on the left there will be an option for them.
To the right of the title, you will see a plus sign.
Click on that.
You will now have the presets panel appear.
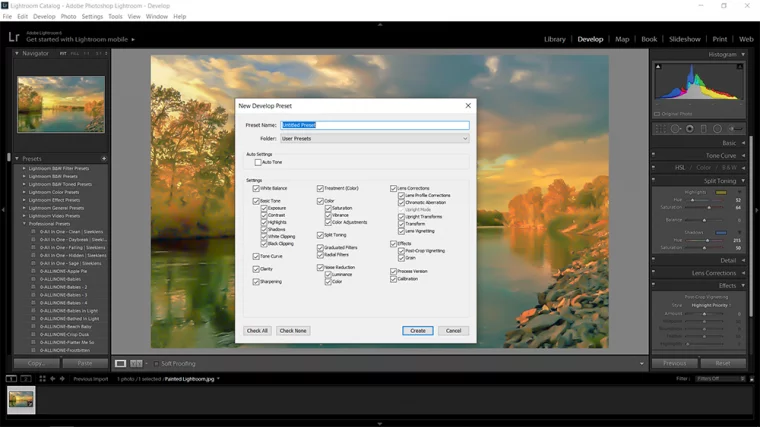
Now choose a suitable name.
I named mine ‘Painted Effect’
But if in future you create other effects that you like not related to what we have created here today you go through the same process.
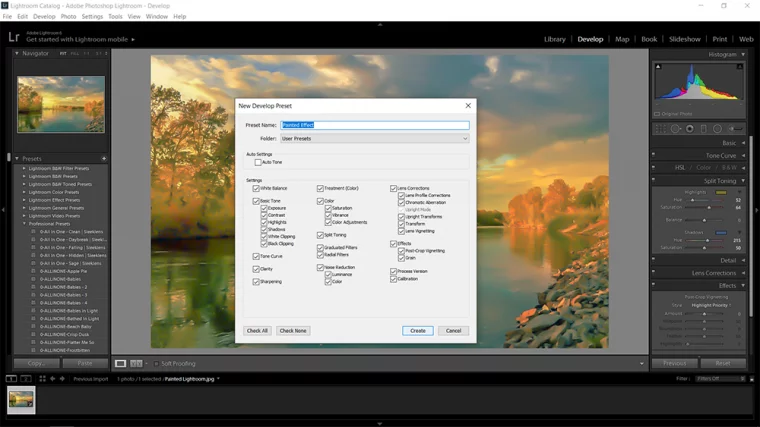
Now all you have to do is click on ‘Create’ and you will see it in your Preset options to the left.
Most likely at the bottom of the list.
Which will be the folder ‘User Presets’
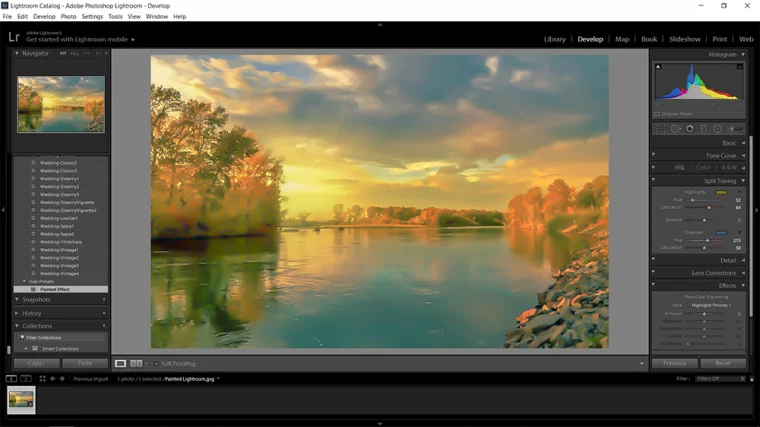
And here we have the final image.
It should be blurred to the point where it still looks real to a degree.
But it will have a far more painted looking effect applied.
Now with any image, you want you will be able to apply this preset to get the exact same effect.
Must Check Out Posts:
Erase unwanted objects and perfect your amazing photos!
Remove objects from photos with Photo Eraser is almost as easy as taking a shot. Now you can use this tool to erase undesirable objects from your pictures, such as tourists, watermarks, logos, texts, blemishes and other unwanted things without real photo-editing skills required at all.

The most powerful and professional data recovery software for Android that can restore deleted or lost contacts, photos, videos, audios, SMS, call logs, WhatsApp chat, Viber messages from any Android devices due to accidental deletion, virus attack, formatting. It supports all popular Android smartphones and tablets like Samsung, HTC, LG, Huawei, Motorola, Nexus, etc. In the meantime, you will be guided step by step if you never used this kind of tool before.


Comments
Post a Comment